-
Services
Why choose Us?
- Trusted Perth Smash Repair Specialists
- Expert Panel Beating & Collision Repairs
- Hassle-Free Insurance Claim Support
- State-of-the-Art Repair Facilities
- Quality Workmanship with Customer Satisfaction
Introduction
Bumper damage is a frequent headache for many car owners worldwide, whether caused by daily wear and tear or a fender bender.
Major or minor dents, scratches, and scuffs on the bumper not only ruin your car's look but also compromise its structural integrity.
This article will guide you through a step-by-step process for repairing a bumper with epoxy, when epoxy is not enough, and also highlight common mistakes to avoid. Keep exploring!
What is Epoxy?
Epoxy is a strong and durable adhesive material, known for its long-lasting bonding capabilities. Its resilience and resistance to corrosion make it an ideal choice for repairing a car bumper.
Why Use Epoxy for Bumper Repair?
Best Epoxy and Adhesive Options for Car Bumpers
For Structural Repairs
JB Weld Plastic Bonder
It's the best epoxy for plastic bumper that provides tough and long-lasting repair. It offers protection against water, oil, and heat.
ZDS™ Automotive Plastic Adhesive
A premium epoxy designed to offer flexibility, resistance, and high strength against heat, vibration, and weather conditions.
Alternative Adhesives for Small or Quick Repairs
Loctite Plastic Bonding Systems
Works well for hard-to-bond plastics and is suitable for small cracks or broken clips.
Gorilla Super Glue Gel
A quick bumper glue repair option for tiny chips or loose tabs.
3M Super Strength Adhesive
It provides a tough and flexible bond, good for trims, tabs, and light exterior bumper repairs.
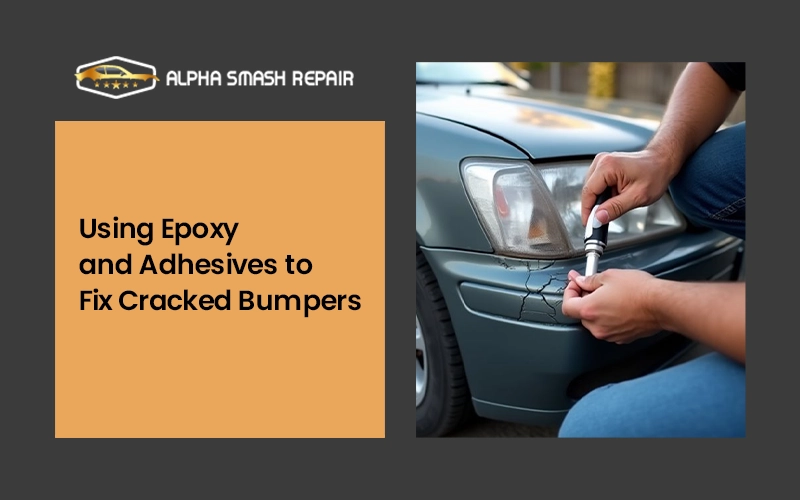
Step-by-Step Epoxy Repair Process
Step 1: Surface Preparation
Sand the damaged area lightly, then clean it using a plastic prep solvent to remove all dust, grease, and debris.
Step 2: Mixing the Compound
Follow the instructions on the epoxy packaging to prepare the resin and hardener mixture as directed. Choosing the right adhesive for cracked bumper is key.
Step 3: Apply Epoxy
Use a spreader or applicator tool to apply the epoxy evenly on the bumper to cover damage without spilling onto other parts.
Step 4: Smoothing and Shaping
Shape the epoxy using a smoothing tool so it blends with the car bumper. Allow it to cure fully before sanding, painting, and refinishing.
Common Mistakes to Avoid
When Epoxy Isn't Enough
The epoxy is not enough in some cases:
Ready to Fix Your Bumper?
With the right tools and techniques, you can restore your bumper to like-new condition. Remember to take your time and follow each step carefully for the best results.