
-
Services
Our Services
- Panel Beating
- Dent Removal
- Car Spray Painting
- Bumper Repair
- Windscreen Replacement
- Fleet Repairs Perth
- Hail Damage Perth
- Luxury Car smash repair
- Car Mechanic Perth
- Car Scratch Repair Perth
- Ceramic Coating
- Car Insurance Claim
- Minor Accident Repair
- full car respray Perth
- Car repainting perth
- colour change respray
- paint restoration Perth
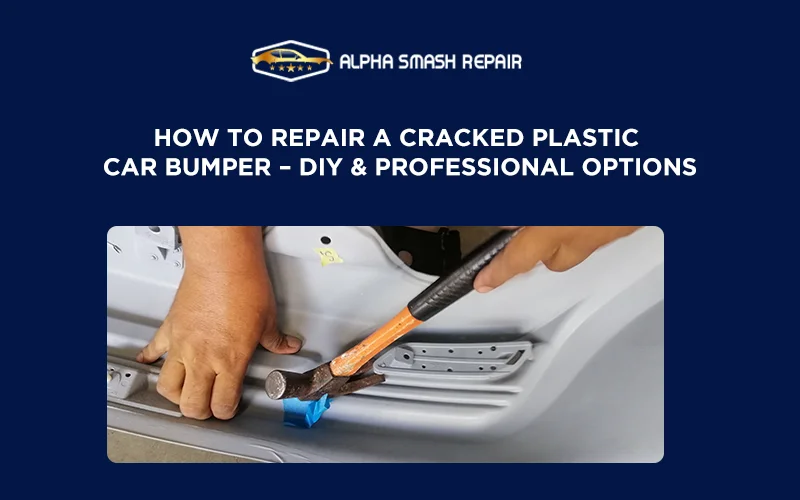
Complete Guide to Car Bumper Repair
Bumpers are the most vulnerable parts of a vehicle, designed specifically to protect the car from road collisions and absorb the impacts. Over time, the plastic bumpers may get scratched or damaged due to daily wear and tear, environmental factors, or road accidents.
Driving with a cracked or damaged bumper can impact your car's resale value, safety, and appearance. The good news is, you do not always need a replacement; you can repair the damage yourself or hire a professional cracked plastic car bumper repair team.
Why Do Car Bumpers Crack?
| Cause | Description |
|---|---|
| Rear-End Collisions | Often happen in busy traffic areas and can result in anything from minor dings to severe damage, ruining a vehicle's safety and functionality. |
| Road Debris | Loose gravel, rocks, or stray objects on the road can hit your car, cause scratches, chips, and other forms of damage to the bumper. |
| Parking Mishaps | Parking in tight spaces can result in unexpected deep dents, scratches, or scuffs, which can affect both appearance and resale value. |
| Low Speed Impacts | Bumping into garage doors, pulling out of narrow driveways, or scraping curbs can cause significant long-term damage. |
| Animal Collisions | Encountering animals on roads can cause cracks, dents, or loosened bumpers, compromising vehicle safety. |
| Off-Road Adventures | Navigating rocky paths, driving on uneven roads, or facing unexpected obstacles can result in deep scratches and dents. |
| General Wear and Tear | Over time, every vehicle inevitably suffers from daily wear and tear, experiencing minor scratches, chips, or fading. |
| Age of the Car | Over time, plastic bumpers may lose their elasticity and resilience, making them prone to cracks or dents. |
| Improper Repairs | Previous poor-quality bumper fixes may weaken the structure and cause severe dents or scratches. |
Can a Cracked Plastic Bumper Be Repaired?
Yes, most cracked plastic bumpers can get repaired. The extent of the damage determines whether a quick DIY repair or professional bumper replacement is needed to restore structural integrity.
Bumper Replacement vs Repair
🔄 Replacement Needed When:
- • The bumper is severely broken or damaged
- • Repair costs reached the replacement cost
- • Dents are deep, large, or deformed the bumper
- • Cracks are longer than 6 inches
🔧 Repair Suitable When:
- • The bumper retains its overall shape
- • The crack is under 6 inches
- • Damage doesn't affect structural integrity
- • Mounting points and sensors are intact
DIY Bumper Repair Methods
If you are comfortable repairing the bumper at home, you can use the following DIY bumper repair methods:
1. Plastic Welding
What it is: A process of melting the plastic and then fusing it into a single solid piece.
Tools: Plastic welder, heat gun, reinforcing mesh, sandpaper, and filler material.
Pros:
- Strong and long-lasting bond
- Works well for moderate to severe damage
Cons:
- Requires specialized tools
- Mistakes can worsen the damage
What it is: Automotive epoxy or specialized plastic adhesives that bond broken pieces.
Tools: Epoxy kit, sandpaper, primer, paint, clamps, or tape.
Pros:
- Easy to apply
- Inexpensive
- No specialized equipment needed
Cons:
- Not as strong as welding
- Best for minor cracks only
3. Fiberglass Patching
What it is: Fiberglass patching repairs cracks or holes by applying fiberglass material and resin to reinforce the damaged bumper from behind.
Tools: Fiberglass repair kit, sandpaper (medium grit), utility knife, body filler, mixing cups and sticks, plastic cleaner or degreaser, primer and touch-up paint, gloves, safety masks and glasses.
Pros:
- Cost-effective repair option
- Ideal for larger cracks, holes, and structural weak spots
- No specialized welding equipment required
- Adds strength to cracked areas
Cons:
- Time-consuming and can get messy
- Requires proper curing time
- May need sanding, priming, and paint finishing
- Not suitable for all flexible plastics
Step-by-Step Fiberglass Repair Process
Choose Fiberglass Repair Method For:
- Larger cracks or holes
- Long-term durability requirements
- Damaged area needs extra reinforcement
- Minor structural damage
- Bumper material is compatible with fiberglass repair
Professional Bumper Repair vs DIY
Common Types of Bumper Damage
| Damage Type | Characteristics |
|---|---|
| Scratches & Scuffs | Surface-level damage affecting paint and outer layer |
| Dents | Physical deformation of bumper shape |
| Paint Damage | Color fading, chipping, or discoloration |
| Cracks | Structural breaks in the plastic material |
✅ Pros of DIY Methods
- Cost-Effective: Repair kits available at affordable prices
- Convenience: Fix at your own pace
- Accessible Resources: Online tutorials available
DIY Methods Good For:
- Small scratches and scuffs
- Shallow dents
- Minor paint touch-ups
❌ Cons of DIY Methods
- Risk of Worsening Damage: Inexperience can cause more harm
- Time-consuming: Can take hours for beginners
- No Guarantee: No warranties on DIY work
✅ Pros of Professional Repairs
- Advanced Tools: Industry-grade equipment
- Expert Assessment: Professional diagnosis
- Guarantee: Warranties on work
- Time-Efficient: Quick turnaround
Professional Repairs Good For:
- Severe structural damage
- Insurance claims
- Long-term durability
- Perfect paint matching
❌ Cons of Professional Repairs
- Higher Cost: More expensive than DIY
- Limited Control: No control over process
- Scheduling: Need appointments in advance
Step-by-Step DIY Bumper Repair
Here's a simplified DIY process for car bumper repair:
💡 Pro Tip:
Always wear gloves, goggles, and a mask when doing car bumper repair.
Cost to Repair or Replace a Damaged Plastic Bumper
Cost in Australia:
Car Bumper Repair: $150 - $600
Bumper Replacement: $500 - $1,500
Tips to Prevent Future Bumper Cracks
| Tips | Description |
|---|---|
| Choose End Parking Spots | Select end spots to reduce the number of vehicles parked directly beside you. |
| Park in Quiet Areas | Choose less crowded areas to reduce the risk of accidental bumps. |
| Avoid Busy Traffic Zones | Stay away from entrances, exits, and high-traffic parking lanes. |
| Check Your Surroundings | Use mirrors and check blind spots for obstacles before manoeuvring. |
| Keep Clear of Curbs | Leave enough space from curbs to prevent scratches and bumper cracks. |
| Drive Slowly in Tight Spaces | Reduce speed when navigating narrow driveways, garages, and parking areas. |
| Avoid Gravel Roads | Limit gravel-road driving to reduce chips and scratches from flying stones. |
| Drive Carefully in Wet Conditions | Reduce speed on slippery roads to maintain better vehicle control. |
| Brake Smoothly | Gradual braking helps maintain control and avoid sudden impacts. |
| Stay Focused in Traffic | Avoid distractions to reduce the risk of minor collisions. |
| Clean the Bumper Regularly | Remove dirt and road grime that can affect the bumper's finish. |
| Inspect Damage Early | Address small cracks, chips, and scratches before they worsen. |
| Check Bumper Fittings | Look for loose clips, mounts, or alignment issues during inspections. |
| Use Suitable Cleaning Products | Use automotive-safe cleaning products to preserve the bumper's finish. |
| Protect Against Sun Exposure | Park in shaded areas when possible to reduce fading and surface deterioration. |
Conclusion: Restore Strength to Your Car Bumper
A cracked plastic bumper does not mean you have to invest a hefty amount in replacement. With simple DIY procedures such as plastic welding, epoxy bonding, or fiberglass patching, you can conveniently restore the strength of your car bumper.
However, for larger bumper cracks, it is advisable to book professionals for exceptional and seamless results. Ultimately, the choice between DIY and professional bumper repairs depends on the budget, tools, and the extent of damage.
The key is not just to fix the bumper issue, but to restore safety, ensuring your car stays safe on the road and looking its best.