
-
Services
Our Services
- Panel Beating
- Dent Removal
- Car Spray Painting
- Bumper Repair
- Windscreen Replacement
- Fleet Repairs Perth
- Hail Damage Perth
- Luxury Car smash repair
- Car Mechanic Perth
- Car Scratch Repair Perth
- Ceramic Coating
- Car Insurance Claim
- Minor Accident Repair
- full car respray Perth
- Car repainting perth
- colour change respray
- paint restoration Perth
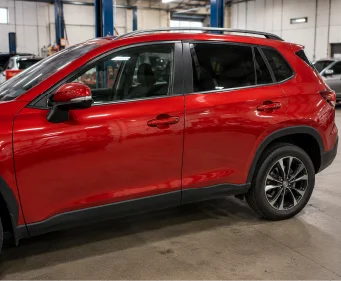
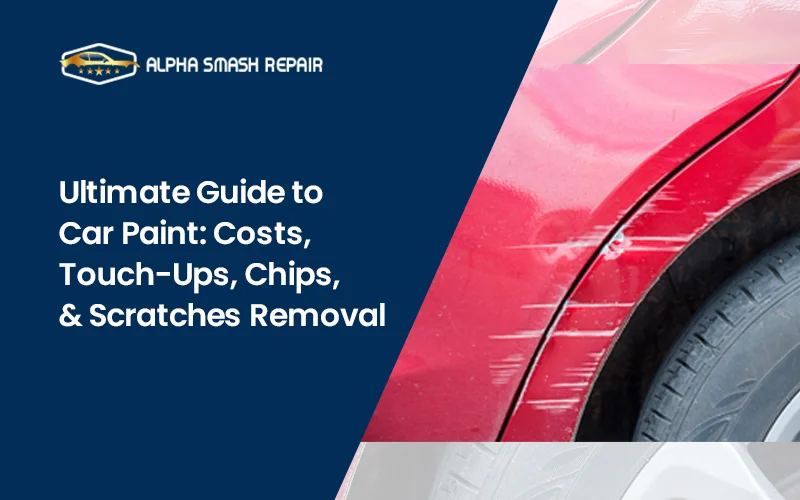
Car painting is more than just transforming your vehicle into a masterpiece; it's about covering imperfections flawlessly and protecting against sun damage and wear. This ultimate guide will help you understand paint types, costs, and repair methods.
First Understand: Car Paint Basics
Car paint is the protective layer applied to a vehicle's exterior. It's crucial for durability and appearance. Learn about layers, types, and finishes to maintain your car's paint effectively.
Car Paint Layers
- E-Coat: Foundation layer that prevents rust and ensures paint adhesion.
- Primer: Prepares the surface for the color coat and adds rust resistance.
- Base Coat: Adds aesthetic color, matte or metallic finishes.
- Clear Coat: Transparent protective layer against UV rays and scratches.
Automotive Paint Types
Each paint type offers unique performance, durability, and finish. Here's a breakdown:
Acrylic Enamel Paint
Offers good color retention with a vibrant finish; ideal for both DIY and professional use.
Urethane Paint
Long-lasting, fade-resistant, and perfect for a professional, glossy look.
Enamel Paint
Durable, chip-resistant, and commonly used in commercial applications.
Acrylic Lacquer Paint
Easy to apply with a smooth, glossy finish but less durable.
Water-Based Paint
Eco-friendly, low-VOC, with vivid color quality; often used by manufacturers.
Common Car Paint Finishes
- Solid Finish: Budget-friendly, single-color, easy to repair but shows imperfections.
- Metallic Finish: Reflects light for a shimmery look and hides scratches.
- Matte Finish: Non-glossy, stylish, but needs special care.
- Pearlescent Finish: Eye-catching shine requiring delicate maintenance.
Why Car Paint Matters?
- Prevents Rust and Corrosion
- Protects against UV rays
- Shields from environmental damage
- Enhances appearance and resale value
- Improves durability and ease of maintenance
Car Paint Job Cost: What to Expect
Depending on the damage and service type, costs vary significantly. Here's a breakdown:
| Service Type | Average Cost |
|---|---|
| Paint Correction and Detailing | $400 - $1,000 |
| Partial Repainting | $100 - $1,000 |
| Full Car Respray | $1,500 - $5,000 |
| Touch-up and Scratch Repair | $250 - $500 |
Based on Location:
| Location | Average Cost (inc. GST) |
|---|---|
| Perth | $1,500 - $5,000 |
| Sydney | $1,500 - $3,000 |
| Melbourne | $3,000 - $3,500 |
Paint Type:
| Finish | Average Cost (per liter) |
|---|---|
| Solid Paint | $70 - $105 |
| Metallic Paint | $120 - $130 |
| Pearlescent Paint | $250 - $2,000 |
| Matte Paint | $100 - $105 |
Note: Prices may vary based on vehicle size, model, and service needs.
Car Paint Repair: From Touch-ups to Deep Scratches
Car Paint Touch-Ups
Used for small chips or scratches. If damage hasn’t gone beyond the base layer, touch-up paint restores the shine affordably.
DIY Touch-Up Kits
Available at auto stores, usually include a matched-color pen, applicator, and clear coat.
Steps to Repair:
- Clean the damaged area thoroughly
- Apply thin layers of paint with precision
- Seal with clear coat
- Polish for a smooth, blended finish
How to Fix Car Paint Chips
DIY Car Paint Chips Repair
- Clean the Damaged Area: Remove the wax, dirt, grease, and road debris from the chip and surrounding area. Let it dry completely.
- Check the Paint Chip Depth: Inspect your vehicle to identify whether the paint reached the primer or exposed the bare metal. Deeper paint chips require a primer before painting.
- Smooth the Edges: Lightly sand any area using fine-grit sandpaper to create a smooth surface for paint chip repair.
- Apply Primer: For exposed bare metal, use a suitable automotive primer before applying a colour coat to protect the surface and improve adhesion.
- Apply Matching Touch-Up Paint: Use colour-matched automotive paint and apply several coats rather than one thick coat. Let each coat fully dry.
- Add Clear Coat: Apply a thin clear coat to protect the paint and restore the finish.
- Level and Polish the Area: Once fully cured, carefully wet-sand any raised area if needed, then polish it to blend with the surroundings.
Professional Car Paint Chips Repair
- Assess the Damage: The repairer checks the chip, depth, size, and surrounding paint using a paint depth gauge and magnifying inspection lights.
- Prepare the Car Panel: The damaged section is professionally sanded using dual-action (DA) sanders and fine-grit sandpaper (typically 400–1000 grit) and then cleaned with a degreaser before an etch primer or epoxy primer is applied, rather than simply filling the chip.
- Remove Rust and Corrosion: Any corrosion around exposed metal is treated using rust converters, wire brushes, or rotary abrasive discs, with a rust-inhibiting primer applied afterwards to stop further oxidation before new paint application.
- Match the Existing Paint: Technicians use spectrophotometers and computerised paint matching systems to scan the vehicle's original colour code and to create a closer match to the vehicle's current finish.
- Blend the New Paint: The new colour is blended into the surrounding paint using a paint gun (typically an HVLP spray gun) with graduated feathering techniques to reduce visible edges.
- Apply the Paint System: Primer, colour coat, and clear coat are applied in stages using a spray booth with controlled airflow and temperature, ensuring even coverage.
- Refine the Surface: The repaired area is cured, polished, and checked for colour, texture, and gloss consistency.
- Inspect the Final Finish: The technicians check that the repair blends naturally with the surrounding area using colour-matching swatches and gloss meters.
Car Paint Scratches
DIY Car Scratch Removal
- Clean the Scratch: Wash and dry the damaged area.
- Check the Scratch Depth: See if it's limited to the clear coat or goes deeper.
- Apply Scratch Remover: Use a fine polishing compound to minimize the light marks in the clear coat.
- Polish the Area: Gently polish with a microfiber cloth or polishing pad.
- Apply Touch-Up Paint: Use colour-matched paint for scratches that reach the base coat.
- Seal the Repair: Finish with wax or paint sealant for a smooth, even finish.
Professional Car Scratch Removal
- Assess the Scratch Depth: The repairers check the scratch depth and affected paint layers using a fingernail test and a magnifying inspection light.
- Clean and Prep the Surface: Wash with pH-neutral car shampoo, then use a clay bar treatment to lift bonded dirt, tar, and other contaminants.
- Sand the Affected Area: Use a fine-grit wet sandpaper (1500–3000 grit) to level the scratch edges.
- Match the Existing Paint: For scratches that have penetrated the colour coat, technicians use spectrophotometers and computerised colour-matching systems to identify the exact factory paint code.
- Apply Touch-up Paint or Repaint the Panel: Depending on severity, technicians use a touch-up pen/brush for small scratches, or a full respray using an HVLP spray gun is done for more serious damage, applied in a controlled spray booth.
- Buff the Surface: A dual-action (DA) polisher with cutting compounds and finishing pads is used to blend the repaired area with the surrounding paint.
- Apply Clear Coat Protection: A clear coat layer is applied and cured (often using infrared curing lamps) to seal the repair and restore the UV and scratch resistance.
- Final Inspection and Gloss Check: The panel is checked under LED inspection lighting and with a gloss meter to confirm the repair matches the surrounding area.
DIY Vs Professional Repair: Which is Best?
DIY works well for minor scratches and chips. For deep scratches, multiple paint chips, or a flawless car appearance, professional repair is recommended.
Best Car Paint Colour Matching Tools Used by Professional Repairers
| Tool | What It Does | Why It Matters |
|---|---|---|
| Spectrophotometer | Scans the vehicle's paint surface and reads its exact colour data, including hue, tone, and metallic/pearl content | Delivers scientifically accurate colour readings instead of relying on the human eye, which is far more reliable across different lighting conditions |
| Computerised Paint-Matching System | Cross-references the spectrophotometer's readings against a manufacturer's original paint code database | Generates a precise mixing formula, accounting for variations between production batches |
| Paint Code Scanner | Reads the vehicle's factory paint code (often from the VIN plate or door jamb) as a starting reference point | Speeds up the matching process by narrowing down the base colour before fine-tuning |
| Tint Mixing Scale | Precisely weighs and blends individual toners and pigments according to the computer-generated formula | Ensures consistency and repeatability if a colour needs to be remixed later |
| Spray-Out Card & Test Panel | A small sample of the mixed paint is sprayed onto a test card or metal panel and compared to the vehicle | Confirms the match visually and under different lighting before committing to the full panel |
| Colour-Matching Light Booth | A controlled lighting environment simulating daylight, shade, and artificial light | Paint can look different under various light sources, so this checks that the match holds up in all conditions |
| Gloss Meter | Measures the surface gloss level of the repaired area against the surrounding panel | Ensures the finish sheen matches, not just the colour, since mismatched gloss is often what makes a repair visible |
| Digital Colour Reader/Camera | Some shops use handheld digital imaging tools to photograph and analyse paint texture, metallic flake orientation, and fade | Useful for older or sun-faded vehicles where the factory code no longer matches the current paint condition |
| HVLP Spray Gun | Applies the matched paint in fine, even coats during the blending process | Even atomisation reduces overspray and helps the new paint blend smoothly into the original |
Perfect Car Paint Touch-Up: Pro Secrets Revealed
- Test the paint first on hidden areas such as inside the door jamb or a wheel well, before applying it to the visible damage.
- Professional workshops use computer-controlled spectrophotometers that read microscopic precision, which beats eyeballing paint colours or relying on paint codes alone.
- Check the scratch with your fingernail. If your nail does not catch on the scratch, the damage may be limited to the clear coat and may not need repainting.
- Find the correct paint code. Check the manufacturer's paint code on the vehicle rather than choosing a colour by eye. Remember that older paint may have faded over time.
- Clean the area thoroughly before painting to remove wax and grease. Otherwise, a small amount of residue can affect paint adhesion.
- For suitable repairs, finish the work with fine sanding and polishing. It helps level the touch-up and make the repaired area less noticeable.
- Avoid painting in extreme temperatures. Very hot surfaces, direct sunlight, or unsuitable temperatures affect drying and final finish.
- Professionals use a cotton swab dabbed with lacquer thinner to level excess touch-up paint without damaging the surrounding paintwork.
Leading Tips for Protecting Your Car's New Paint
- Hand wash regularly
- Use pH-neutral soap
- Use a microfiber cloth
- Avoid automatic car washes
- Park in shaded areas
- Repair damage promptly
- Apply car wax regularly
- Use ceramic coating for long-term protection
- Cover the car when parked for long periods
When to Repaint Your Car
Repaint when paint is peeling, faded, or when rust is visible. Repainting improves both appearance and value.
Final Thoughts!
Your car’s paint is the first impression and first line of defense. Whether it's a minor scratch or a full respray, maintaining your car’s paint helps preserve its beauty and value.